Getting Started with
PixLab Tools & APIs
Harness AI-powered tools for vision, automation, and media processing. Seamlessly integrate advanced APIs to enhance your app's visual capabilities, streamline workflows, and empower developers, businesses, and creators.
Empowering Innovation for Thousands of Developers and Businesses
Join a global community of developers and creatives leveraging PixLab's AI-powered Tools, Models & APIs to automate workflows, enhance creativity, and deliver better results.
Uptime Reliability
Built on enterprise-grade infrastructure
Discover PixLab's Powerful Tools & APIs
Get access to 150+ API Endpoints and dozens of AI-driven tools & APIs built for creativity, development, and automation. Whether you're a developer or a designer, PixLab helps you move faster with practical, reliable tools.
API Portal
The PixLab API Portal is a quick way to find the right API for your use case and move from testing to production.
- ID Scan & Extract API - Document OCR and structured data extraction.
- Vision Platform APIs - VLM workflows for parsing, OCR, and RAG.
- Vision & Media APIs - Analyze, classify, and enhance media.
- Rich PDF Generation API - Build dynamic documents from templates.
- FACEIO ↗ - Passwordless facial authentication layer.
Public API Endpoints
Plug into 150+ endpoints for automation, media processing, and AI-powered product features.
- Full Endpoint Docs - Complete references, guides, and examples.
- Vision & Media Analysis - Extract insights from images and videos.
- Image Processing - Transform and optimize media at scale.
- Smart Media Converter - Convert 239+ formats fast and securely.
- Content Moderation - Detect and filter sensitive content.
- Capture & Transform API - Extract and repurpose visual frames.
- Background Removal - One-call background cleanup.
- Face Authentication & Recognition - Enable secure identity workflows.

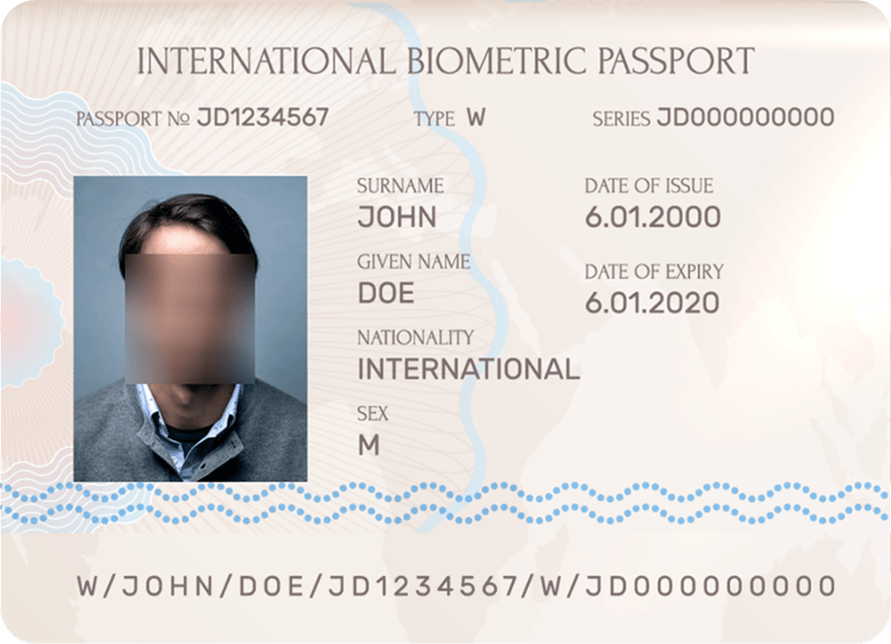
Document Intelligence & Extraction API
Use ID Scan & Extract API to scan IDs, passports, and driver's licenses with JSON-ready output for KYC and onboarding.
Built for global coverage with support for 11,000+ document types across 197+ countries.
Media-Rich PDF Generation API
Create invoices, reports, and branded documents with Rich PDF Generation APIs and dynamic template data for scalable business workflows.
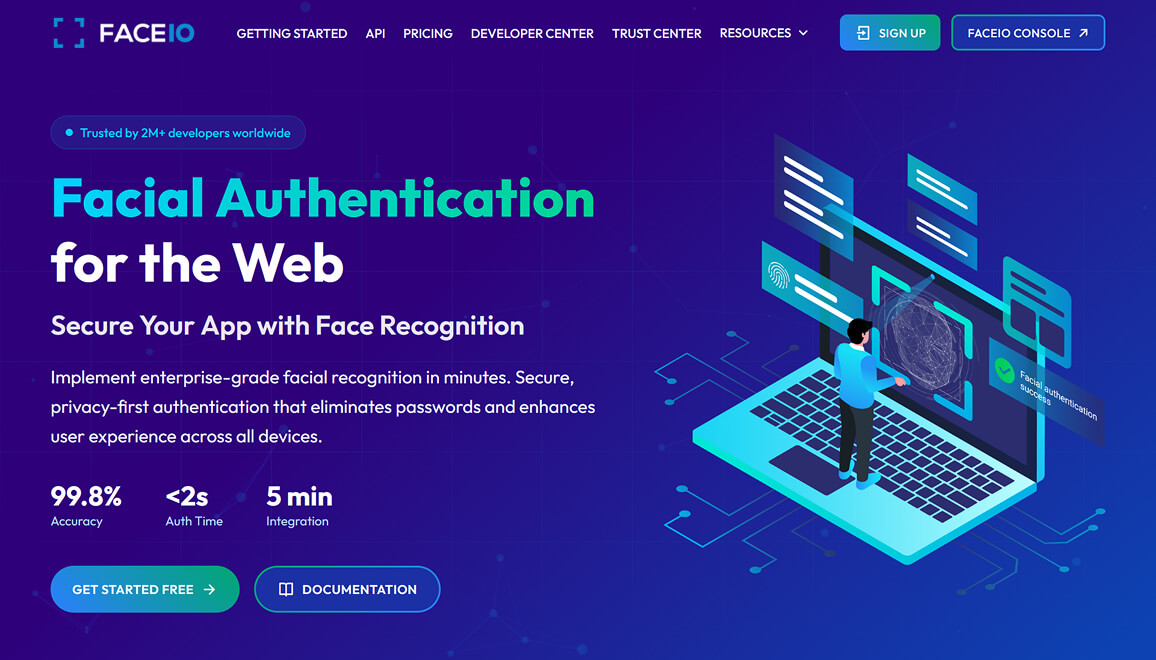
FACEIO - Passwordless Facial Authentication for Web & Apps
FACEIO ↗ by PixLab offers a secure, cross-browser facial recognition SDK for websites and web apps. Easily integrate passwordless authentication to manage sign-ins, user access, and attendance.
- Facial Authentication: Fast biometric login for web products.
- Attendance & Access Control: Reliable identity checks for check-ins and controlled access.
- Passwordless UX: Remove OTP/password bottlenecks and improve completion rates.
- Age Verification: Add quick age checks for compliance-gated experiences.
- Liveness Detection: Anti-spoofing protections to reduce fraud risk.
Upgrade your security and user experience with FACEIO ↗, a practical authentication layer for the web.
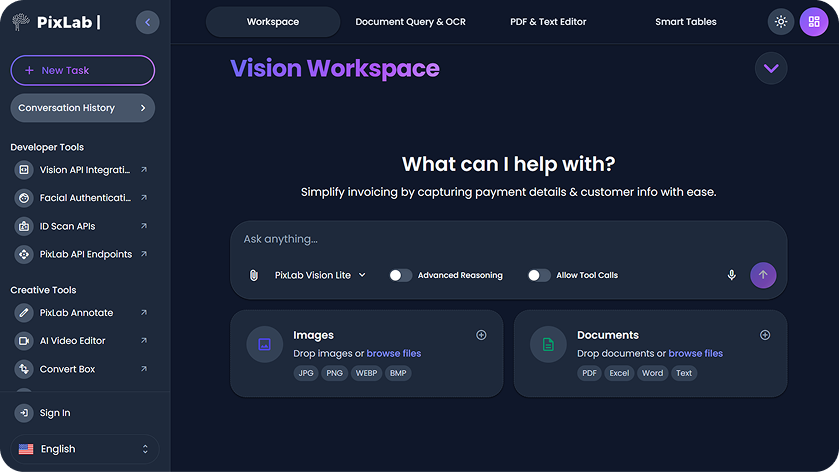
Vision Platform: Workspace, Agents, RAG, OCR, LLM Parse Tools & APIs
Build on Vision Language APIs for OCR, document parsing, extraction, and RAG workflows. Use Vision Workspace ↗ for no-code and assisted workflows.
Extract data from PDFs, images, and spreadsheets, then connect results into broader pipelines via PixLab API Endpoints.
Mobile Apps Hub: Editing, Video, and Document Tools
Explore the PixLab Mobile Apps Hub for practical iOS apps built for visual editing, short-form video creation, and document workflows on the go.
- Talkie OCR - Scan documents, extract text, and get quick summaries on mobile.
- iOS Photo Editor - Prompt-based photo editing, retouching, and social-ready exports.
- iOS Video Editor - Turn prompts, photos, and clips into short videos quickly.
- DOCSCAN Mobile App - Scan IDs and documents with structured extraction workflows.
- Mobile Apps Hub - Compare apps and pick the right workflow for your team.
Creativity Tools
Convert Box ↗ handles 239+ media formats with secure browser-based conversion and no setup. Learn more about Convert Box.
App UI/UX helps teams generate clean, reusable UI code for SwiftUI, Flutter, React Native, and Jetpack Compose.
Prototype faster with App UX Studio ↗ and move from idea to implementation quickly.
Creator & Developer Toolbox
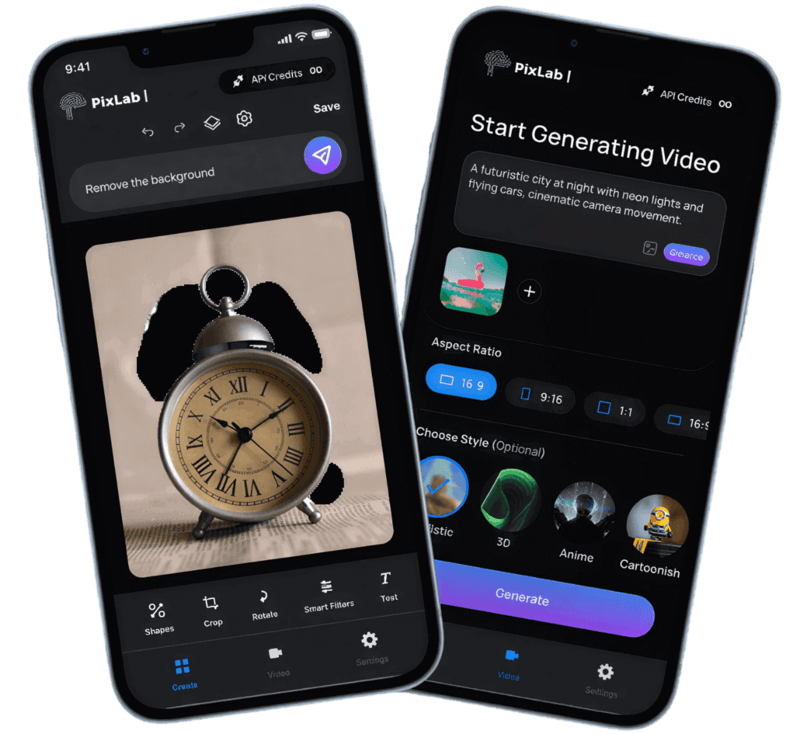
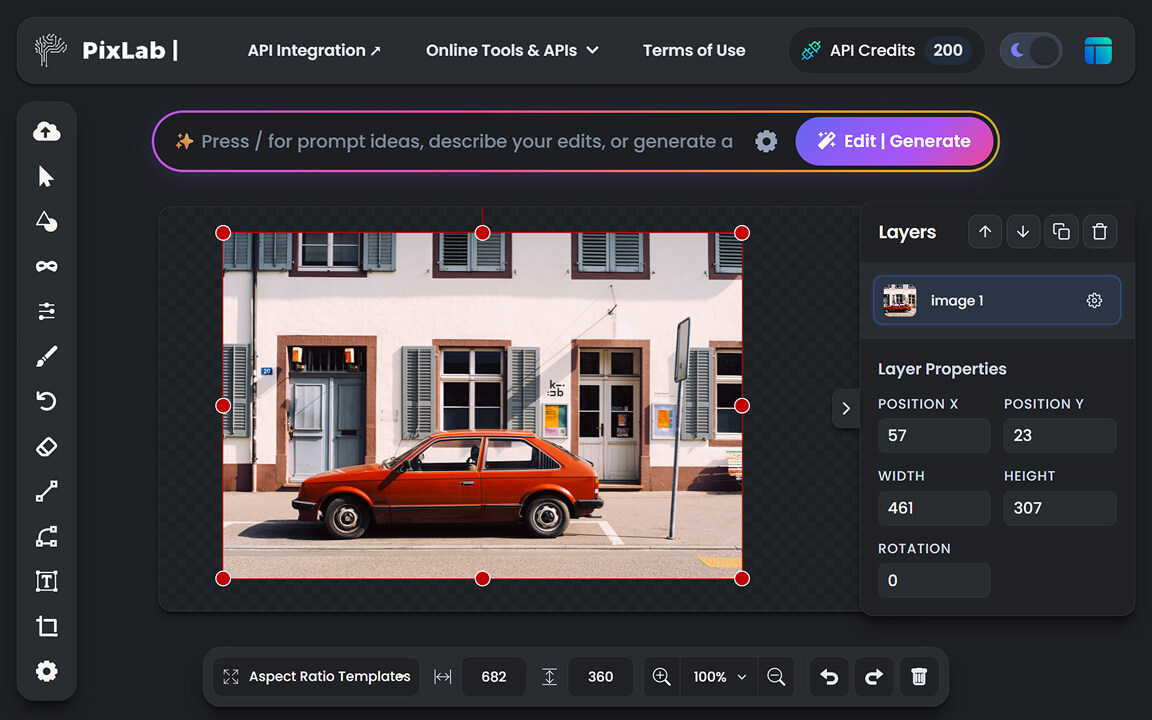
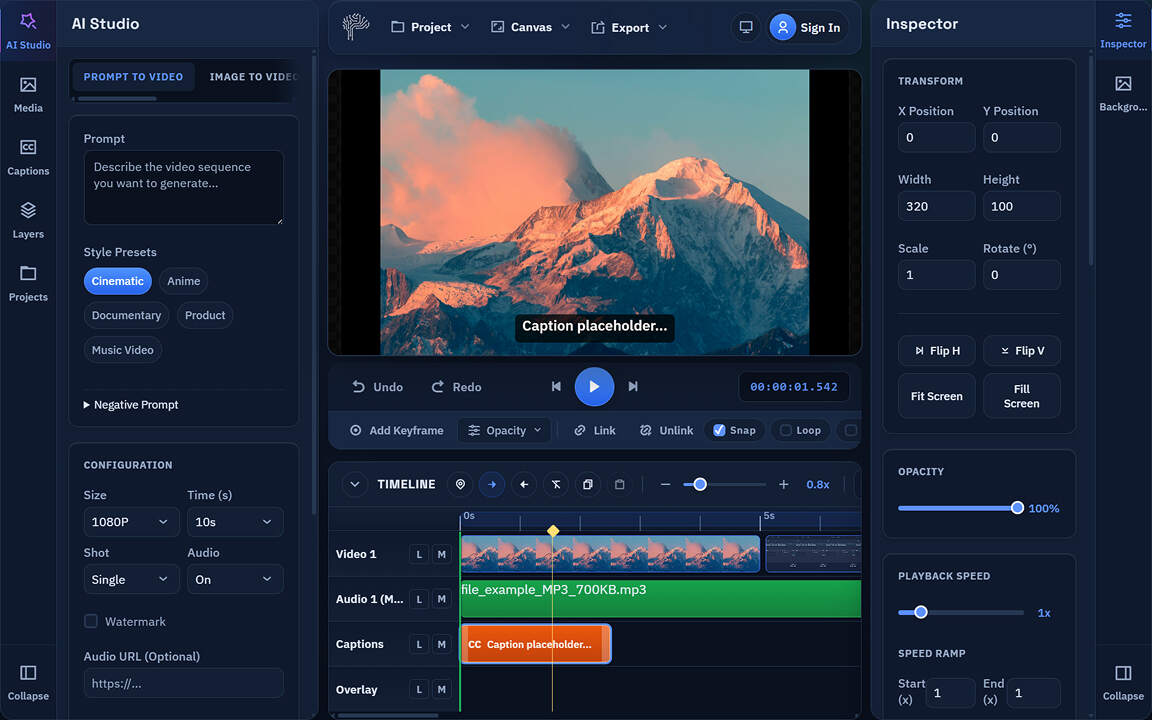
Create clips with AI Video Editor, remove backgrounds in bulk using BG-REMOVE API or the web app ↗, and speed up design production with Creative Toolbox ↗.
- AI Video Editor - Browser-first timeline editing, captions, effects, and export. Powered by WebAssembly, WebGL/WebGPU, and PixLab VLM APIs.
- Batch Background Removal - Clean multiple assets in one pass.
- Creative Editing Tools - Design, format, and publish visual content faster.
- Higher Throughput - Fewer manual steps across repetitive media tasks.

AI Photo Editor
PixLab AI Photo Editor combines editing, logo design, and generative tools in one free browser-based workspace for social media graphics and creative content.
- AI Photo Editor ↗ - Fast, consistent image editing for day-to-day production.
- Object Removal Tools - Clean up people, objects, and backgrounds in one click.
- Freehand Drawing ↗ - Add annotations, sketches, and personal touches with customizable brushes and smooth control.
Online Creativity Tools
A practical set of web apps for video, design, conversion, annotation, and document-driven productivity.
- AI Video Editor - Create and edit videos directly in-browser.
- Annotate - Label and segment data for CV/ML workflows in your browser.
- Bulk Background Removal Tool - Batch remove backgrounds fast.
- Convert Box - Convert image, document, audio, and video formats.
- AI Photo Editor - Edit visuals with AI-assisted controls.
- Vision Workspace ↗ - OCR, document chat, and extraction tools.
- App UI/UX - Generate mobile UI and reusable code components.
- Screenshot Editor - Polish screenshots and mockups quickly.
- Creative Toolbox - Build social and campaign-ready assets.
- 2D Tilemap Maker - Design and edit tilemaps for games.
Three Steps from API Key to Production Workflow
Start in the Console, validate with real endpoints, and move to production with confidence. PixLab helps teams go from a first call to reliable automation without heavy setup or long handoff cycles.
Connect and Choose an Endpoint
Create credentials in PixLab Console ↗, then choose the right API in the API Portal based on your use case.
Call, Validate, and Tune
Send your first request using the REST API guide, verify output quality and edge cases, then tune payloads with the endpoint reference.
Ship and Expand Automation
Move into production and extend workflows with tools like Vision Workspace ↗ and Convert Box across your team.
Launch workflows with clear business impact
These practical, production-ready workflow patterns reflect how teams commonly use PixLab across product, operations, and automation.
Identity Verification & Onboarding
Automate KYC, account setup, and fraud checks using ID Scan & Extract API plus FACEIO ↗. Capture identity data quickly and reduce manual verification loops.
Machine Vision & Media Automation
Build automated image and media pipelines with Vision & Media APIs, BG-REMOVE API, and conversion workflows via Convert Box.
Document Intelligence Pipelines
Extract, parse, and route data from PDFs and images with Vision Platform APIs, then generate polished outputs using Rich PDF Generation APIs.
Creative Production & Content Ops
Support daily creative output with AI Photo Editor, AI Video Editor, and Creative Toolbox for fast generation, editing, and campaign-ready assets.
Common Questions About PixLab
Find clear and concise answers to the most common questions regarding plans, billing, and support.
Visit PixLab API PortalHow do I get started with PixLab?
Getting started with PixLab is simple. Follow these steps:
- Visit the API Portal to explore available APIs.
- Browse the API Endpoints for a full list of PixLab services.
- Check the REST API Guide to make your first API call in your preferred programming language.
- Generate your API Key in the PixLab Console ↗.
- For identity verification, visit the ID Scan Platform.
- For document scanning and analysis, use the Vision Platform, and its accompanying Workspace App ↗.
- Finally, review the list of online tools below such as AI Photo Editor, Bulk Background Removal, App UI/UX, and Creative Toolbox.
Where are my output assets stored?
Your processed media assets are stored securely. If you've linked your own AWS S3 bucket via the PixLab Console ↗, your assets will be stored exclusively in your S3 bucket instead of PixLab's public storage. This approach offers greater control, security, and compliance, making it a preferred choice for businesses handling sensitive data.
Who can benefit from PixLab Vision?
The PixLab Vision Platform and the Workspace App ↗ are designed for:
- Professionals & Businesses: Automate office workflows, extract data, and enhance productivity.
- Developers & Teams: Process large-scale documents, integrate OCR, and build advanced applications.
- Creatives & Analysts: Edit text, manage spreadsheets, and extract insights effortlessly.
Explore the Vision Workspace ↗ to see how PixLab Vision can fit your specific needs.
Can I upgrade my current plan?
You can upgrade your current plan directly from the PixLab Console ↗ as your needs grow.
Can I downgrade my current plan?
You can downgrade your current plan by submitting a subscription management ticket through the Support tab in the PixLab Console ↗.
What happens if I exceed my monthly quota?
If you exceed your monthly quota, additional requests are billed at a low rate of $0.009 per 1,000 requests. However, media processing requests are always free for Business & Enterprise plan customers. You'll receive an email alert when you reach 90% of your monthly quota to help you manage usage effectively. For full details, visit the Pricing page.
Do you offer SLAs (Service Level Agreements)?
Service Level Agreements (SLAs) are not included in standard plans. However, enterprise-level clients and those with critical business needs may request a customized 99.9% SLA uptime guarantee with PixLab | Symisc Systems ↗. Refer to the PixLab Console ↗ for additional information.
How can I get support if I need integration assistance?
If you need assistance, PixLab offers multiple support options:
- Developer Docs: Check our API Endpoints for technical guidance.
- PixLab Console: Manage your API keys, track usage, and access resources via the PixLab Console ↗.
- Community & Support Tickets: Reach out via our support portal or open a ticket for technical questions.
- Enterprise Support: Dedicated assistance for enterprise clients through service agreements.
Visit the PixLab Console ↗ to explore more.
What Our Users Say
Whether you're an indie developer, a freelancer, or part of a growing business, PixLab is designed to streamline your workflow.
You're one step closer to adding an intelligent user experience...